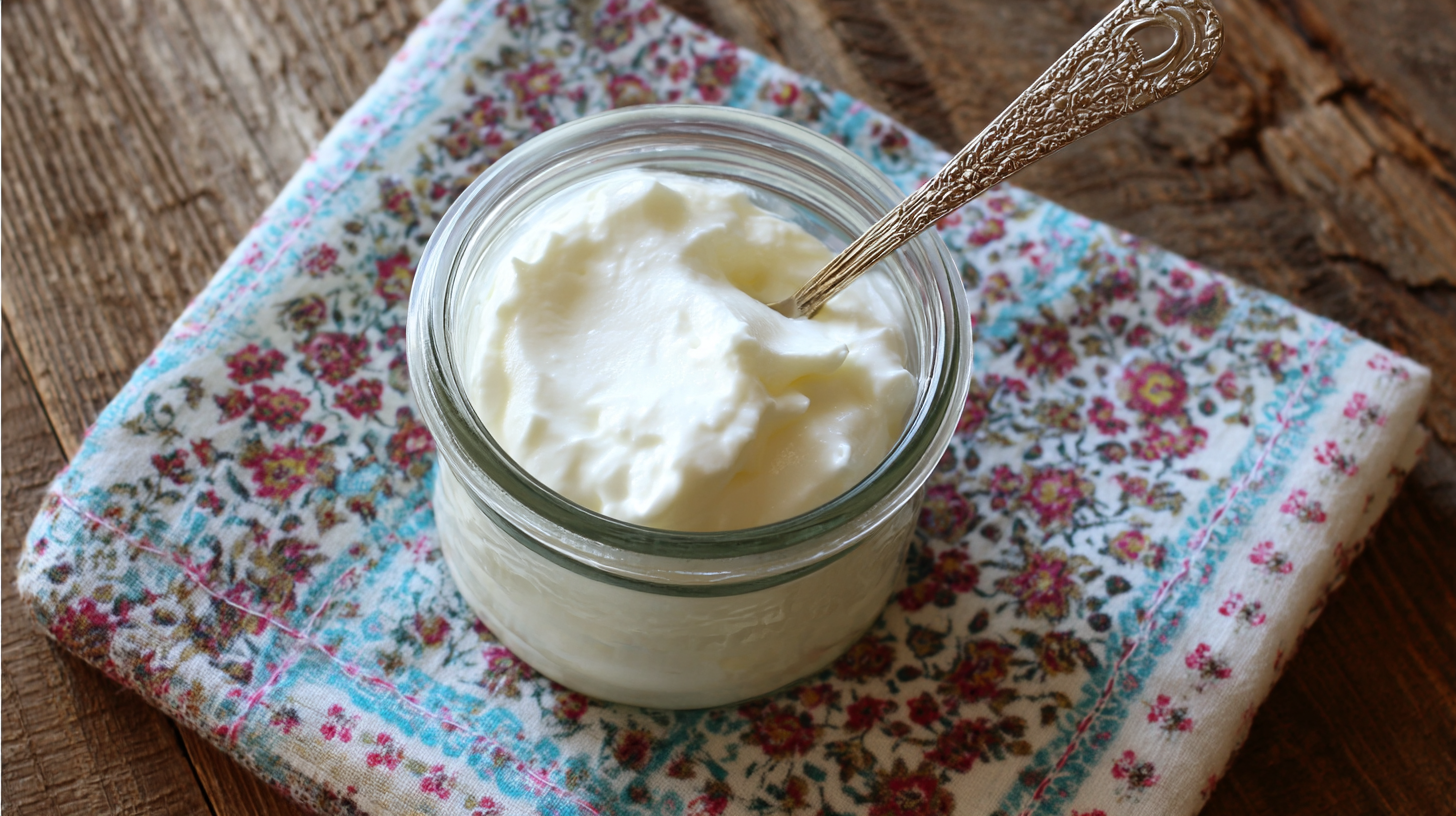
If you’re into living a healthier lifestyle, you’ve probably noticed that home fermentation has been getting kinda popular these days—especially with things like making your own Bulgarian Yogurt Starter. This stuff isn’t just super tasty; it’s packed with Probiotics that boost your digestion and overall health.
Here at Zhongchuang Yike (Shanghai) Health Technology Co., Ltd., we totally get how excited people are about fermentation. That's why we offer all kinds of solutions—top-notch probiotics, Postbiotics, and fermentation agents—to help both home enthusiasts and industry pros, whether you’re into food production or healthcare stuff.
When you learn to make Bulgarian yogurt at home, you’re not just creating a healthy snack—you’re also getting the satisfaction of making something yourself. This guide will walk you through the key steps and some handy tips so you can nail the fermentation process and master homemade Bulgarian yogurt with confidence.
Essential Ingredients Needed for Bulgarian Yoghurt Starter Cultivation
If you want to successfully make Bulgarian yogurt at home, the first thing you gotta do is gather the right ingredients. The star of the show is, of course, the Bulgarian yogurt culture. This usually includes those specific strains of Lactobacillus bulgaricus and Streptococcus thermophilus that give it that authentic flavor. You can either buy a starter culture from a trusted supplier or just use a spoonful of store-bought Bulgarian yogurt to kick things off. Just make sure it has live active cultures for the best results.
Now, aside from the culture itself, you'll need good quality milk—full-fat or low-fat works fine, but I lean toward whole milk for that extra creaminess. Fresh milk is best because it’s packed with the nutrients that help the bacteria grow. If you're using tap water, it’s a good idea to filter it because chlorine can mess with the fermentation. And don’t forget, keeping the right temperature—around 110°F to 115°F—is super important for everything to go smoothly.
A couple of tips: sterilize your jars and utensils before you start, just to keep out any unwanted bacteria. Grab a thermometer, too—trust me, it makes all the difference when you're trying to hit that perfect temperature. And finally, patience is everything. Let the yogurt ferment for several hours—maybe less if you prefer it milder, or longer for that really tangy flavor. It's all about experimenting and finding what you like best.
Essential Ingredients Composition for Bulgarian Yoghurt Starter Cultivation
Step-by-Step Guide to Preparing Your Milk for Fermentation
Getting your milk ready for fermentation is a pretty important step if you wanna make authentic Bulgarian yogurt at home. First off, you gotta choose the right kind of milk. Honestly, using whole milk tends to give a creamier texture and a richer flavor compared to skim or low-fat options. I came across a study in the International Dairy Journal that mentioned whole milk has more of those fat-soluble vitamins and nutrients, which can really boost the probiotic activity during fermentation. It’s worth keeping in mind!
Once you've picked your milk, next up is pasteurization. It might sound a bit fancy, but it’s crucial — it kills off any bad bacteria and creates a nice, healthy environment for those good lactobacilli to thrive. The magic number here is heating it up to about 165°F (74°C) and keeping it there for at least 15 seconds. Trust me, doing this really makes a difference in the final taste and texture. After that, let the milk cool down to around 110°F (43°C) before adding your Bulgarian yogurt starter. That’s pretty much the sweet spot for good fermentation. Follow these simple steps, and you’ll be setting yourself up for a fantastic batch of homemade yogurt — tasty, healthy, and totally worth the effort!
Choosing the Right Container for Successful Yogurt Fermentation
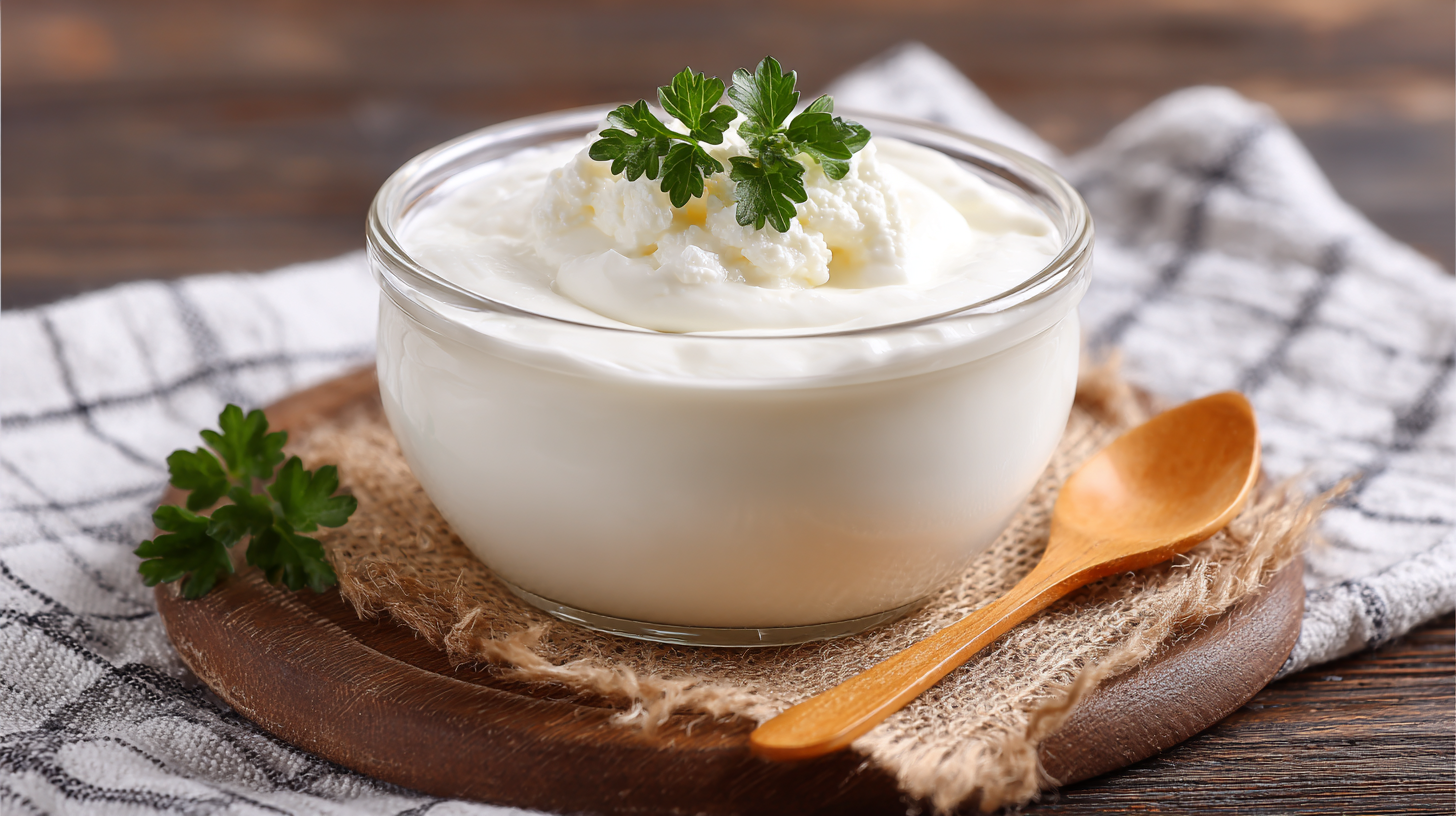
Picking the right container is actually pretty important if you want your homemade Bulgarian yogurt to turn out just right. The fermentation process isn’t exactly forgiving—things like temperature fluctuations or contaminants can really mess with your results. So, it’s best to go with glass or food-grade plastic containers that can keep a steady temperature and are easy to wash up. I read in the International Journal of Dairy Technology that yogurt fermented in glass tends to taste better and has a better consistency because glass doesn’t react chemically with the yogurt—it’s kind of a no-brainer if you ask me.
As for size, choose something that suits how much yogurt you want to make. Smaller containers are actually a plus—they help keep the temperature nice and steady and make it easier to avoid outside bacteria sneaking in. Plus, make sure your container is airtight so the good bacteria can chill and do their thing without interruptions.
There’s also a study from Dairy Science and Technology that suggests keeping the fermentation environment between about 110°F and 115°F (43°C to 46°C) really helps produce that authentic Bulgarian yogurt flavor.
Pro tip: To keep things cozy for fermentation, try placing your container in a warm spot in your kitchen—maybe near a sunny window or even in a turned-off oven with just the light on for gentle warmth. And don’t forget to sterilize your jars beforehand—getting rid of any leftover bacteria is super important, or else your yogurt might not turn out as good or safe as you want it to be. Making your own yogurt can be a fun adventure, and with a little care, it’ll be both tasty and healthy!
Maintaining Ideal Temperature for Perfect Yogurt Fermentation
Getting the temperature just right is super important when you're making Bulgarian yogurt. You really need to hit that sweet spot—around 110°F to 115°F (43°C to 46°C)—for everything to turn out perfect. At this range, those good bacteria, mainly Lactobacillus bulgaricus and Streptococcus thermophilus, can do their thing—metabolize lactose efficiently and give the yogurt its signature tangy flavor and that nice creamy texture we all love about traditional Bulgarian yogurt. If you're a bit off and the temperature dips too low, the bacteria won’t be very active, and things can get a bit sluggish. But if it’s too hot, you might kill those bacteria or stop them from growing properly. Not ideal, right?
Using a yogurt maker or some kind of fermentation gear can really help keep the temperature steady—that way, you’re not left guessing. I came across some industry reports suggesting that keeping that temperature stable is key, because if it fluctuates, the final yogurt can end up with weird taste or texture issues. There was even a study in the International Dairy Journal showing that yogurt fermented at a consistent temperature had about 30% more lactic acid bacteria compared to batches where the temperature was all over the place. So, if you want that authentic Bulgarian flavor and creaminess, it’s totally worth paying attention to those little details and monitoring your setup closely. Trust me, your future self will thank you for it!
Tips for Timing Your Fermentation Process for Optimal Results
Getting that perfect batch of Bulgaria yogurt at home really depends on timing and temperature. Honestly, if you keep the temperature just right during fermentation, it makes a huge difference in how the final product turns out—think creamy texture and that nice tangy flavor. The sweet spot for fermenting Bulgarian yogurt is around 110°F to 115°F (43°C to 46°C). At that temperature, those good bacteria, mainly Lactobacillus bulgaricus and Streptococcus thermophilus, really thrive, giving your yogurt that authentic taste and creamy feel.
Usually, fermentation takes anywhere from about 4 to 8 hours, depending on how thick and tart you want it. If you leave it fermenting too long, it can become super sour because of the extra lactic acid. On the flip side, taking it out too early might mean it’s not set properly and ends up pretty runny. So, I’d recommend checking on it after about 4 hours—see where it’s at—and adjust based on what you’re after. With a little patience and careful timing, you can create a beautifully balanced Bulgarian yogurt that’s just the right mix of flavor and creaminess.
Storing and Reusing Your Bulgarian Yoghurt Starter for Future Batches
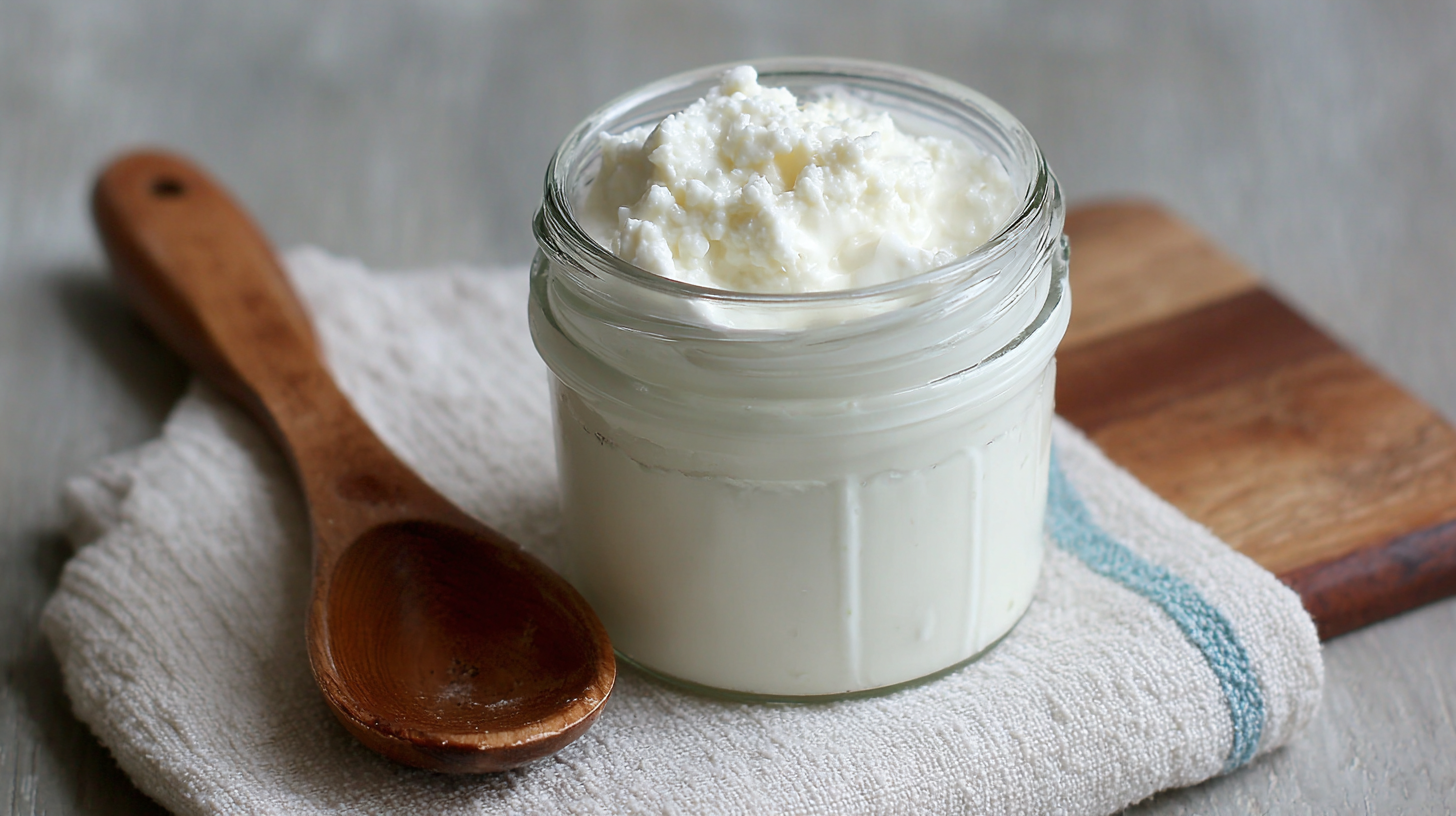
If you're into making Bulgarian yogurt starter at home, it’s pretty important to handle storage and reusing the starter the right way to keep your fermentation game strong. Once you've made a tasty batch of homemade yogurt, you can save a bit of the starter for next time. Just toss it into a clean, airtight jar and pop it in the fridge—that way, it stays alive and ready to kickstart your next batch. A good rule of thumb is to use it within about two weeks so it doesn’t lose its punch.
When you want to reuse your Bulgarian yogurt starter, it’s simple: scoop out a small amount and mix it with some fresh milk. Let the cultures do their thing again. As you get more comfortable, you might want to gradually add more milk to keep the consistency and tang just right. Honestly, many folks find homemade yogurt not only tastes better but is also healthier since they control the ingredients. It really does make a difference—better taste, better texture. With proper storage and care, you’ll be able to enjoy turn out batch after batch, all from your own kitchen.
FAQS
: Whole milk is recommended as it yields a creamier texture and richer flavor compared to low-fat or skim milk.
Pasteurization eliminates harmful bacteria and creates a favorable environment for beneficial lactobacilli, improving the quality of the final product.
The recommended temperature for pasteurization is 165°F (74°C) for at least 15 seconds.
The milk should be cooled to around 110°F (43°C) before adding the Bulgarian yogurt starter for optimal fermentation conditions.
The ideal fermentation temperature for Bulgarian yogurt is between 110°F to 115°F (43°C to 46°C).
The fermentation process usually takes about 4 to 8 hours, depending on the desired thickness and tartness.
Extending fermentation time beyond 8 hours can lead to overly sour yogurt due to excessive lactic acid production.
If the yogurt is not setting properly, check the consistency after the first 4 hours and allow for adjustments based on personal taste preferences.
Maintaining stable temperatures during fermentation is crucial, as fluctuations can lead to unpleasant taste and texture in the final product.
The beneficial bacteria involved are primarily Lactobacillus bulgaricus and Streptococcus thermophilus.
Conclusion
If you’re thinking about making Bulgarian yogurt at home, the key is to start with the right ingredients and take your time prepping the milk just right for fermentation. It all begins with choosing good quality milk and making sure it's properly pasteurized—nothing fancy, just the standard process. Picking the right container is pretty important too, since it helps keep the fermentation conditions just right. And don’t forget about temperature—keeping it steady allows your yogurt to turn out smooth and tasty.
Timing plays a big role as well. Keep an eye on the fermentation process to get that perfect texture and flavor. Once your homemade Bulgarian yogurt is ready, storing it properly can really help it stay fresh longer and means you can reuse your starter for future batches. Here at Zhongchuang Yike (Shanghai) Health Technology Co., Ltd., we’re all about supporting you with high-quality probiotics and fermentation products made for all kinds of health and food projects. Happy yogurt-making!